Windows DLLs can be signed using two mechanisms; StrongName Signing and Authenticode Signing. In this part we will see how we can add StrongName and Authenticode Signing to Windows executables and their pros and cons.
Here we are creating a sample calculator application with a WPF UI and a DLL which does the basic mathematical operations of calculator. This application also has a DLL named Security, which is added with capability for verifying StrongName Signing and Authenticode Signing and singning certificate.
Code for the same can be found here : https://github.com/violet-devsec/wpf-app-dll-code-sign
-
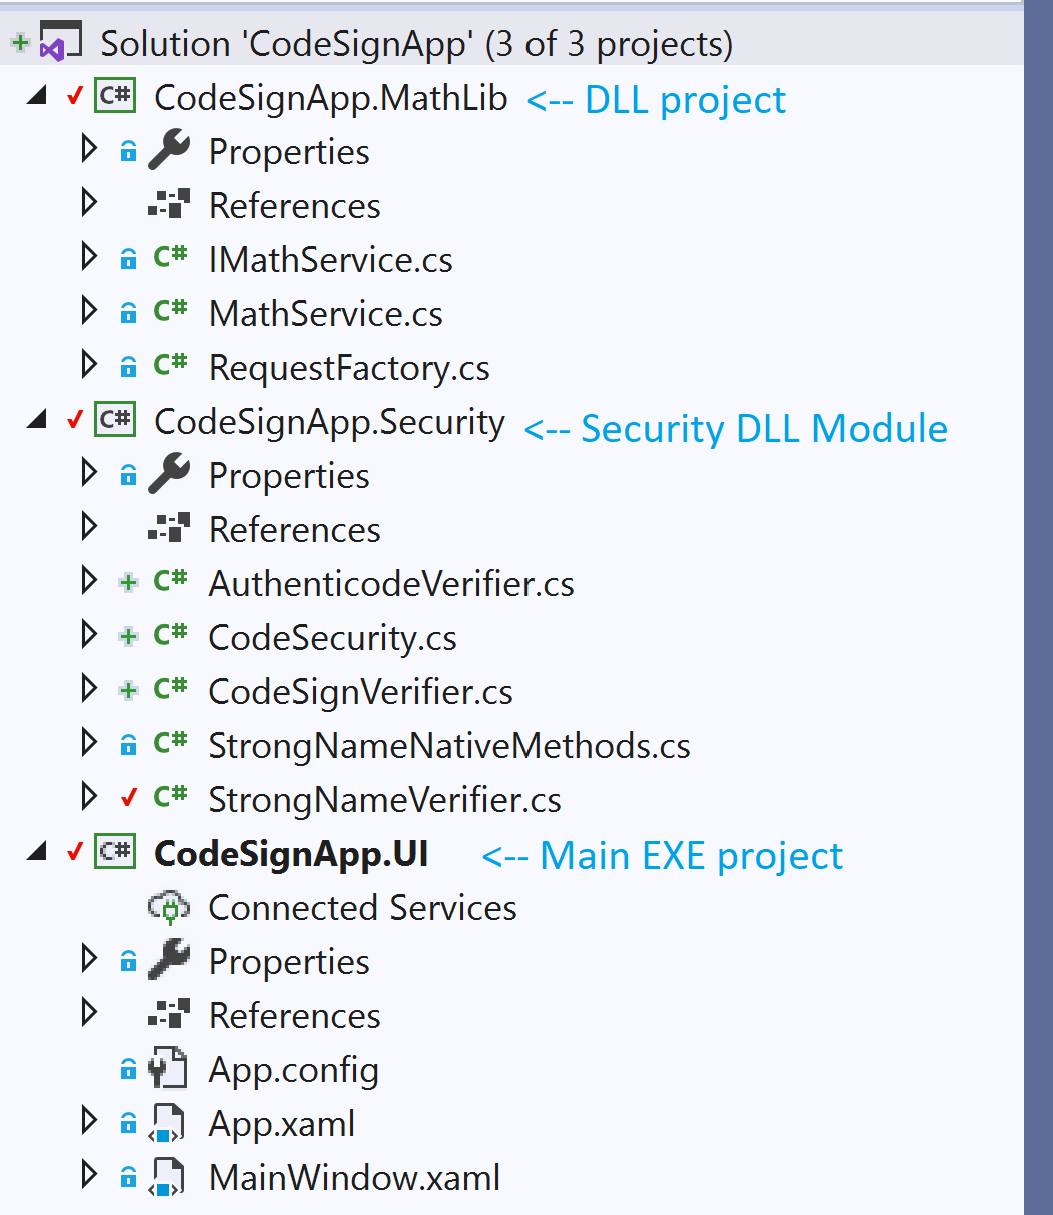
Sample app structure
Sample app's project structure in Visual Studio.
-
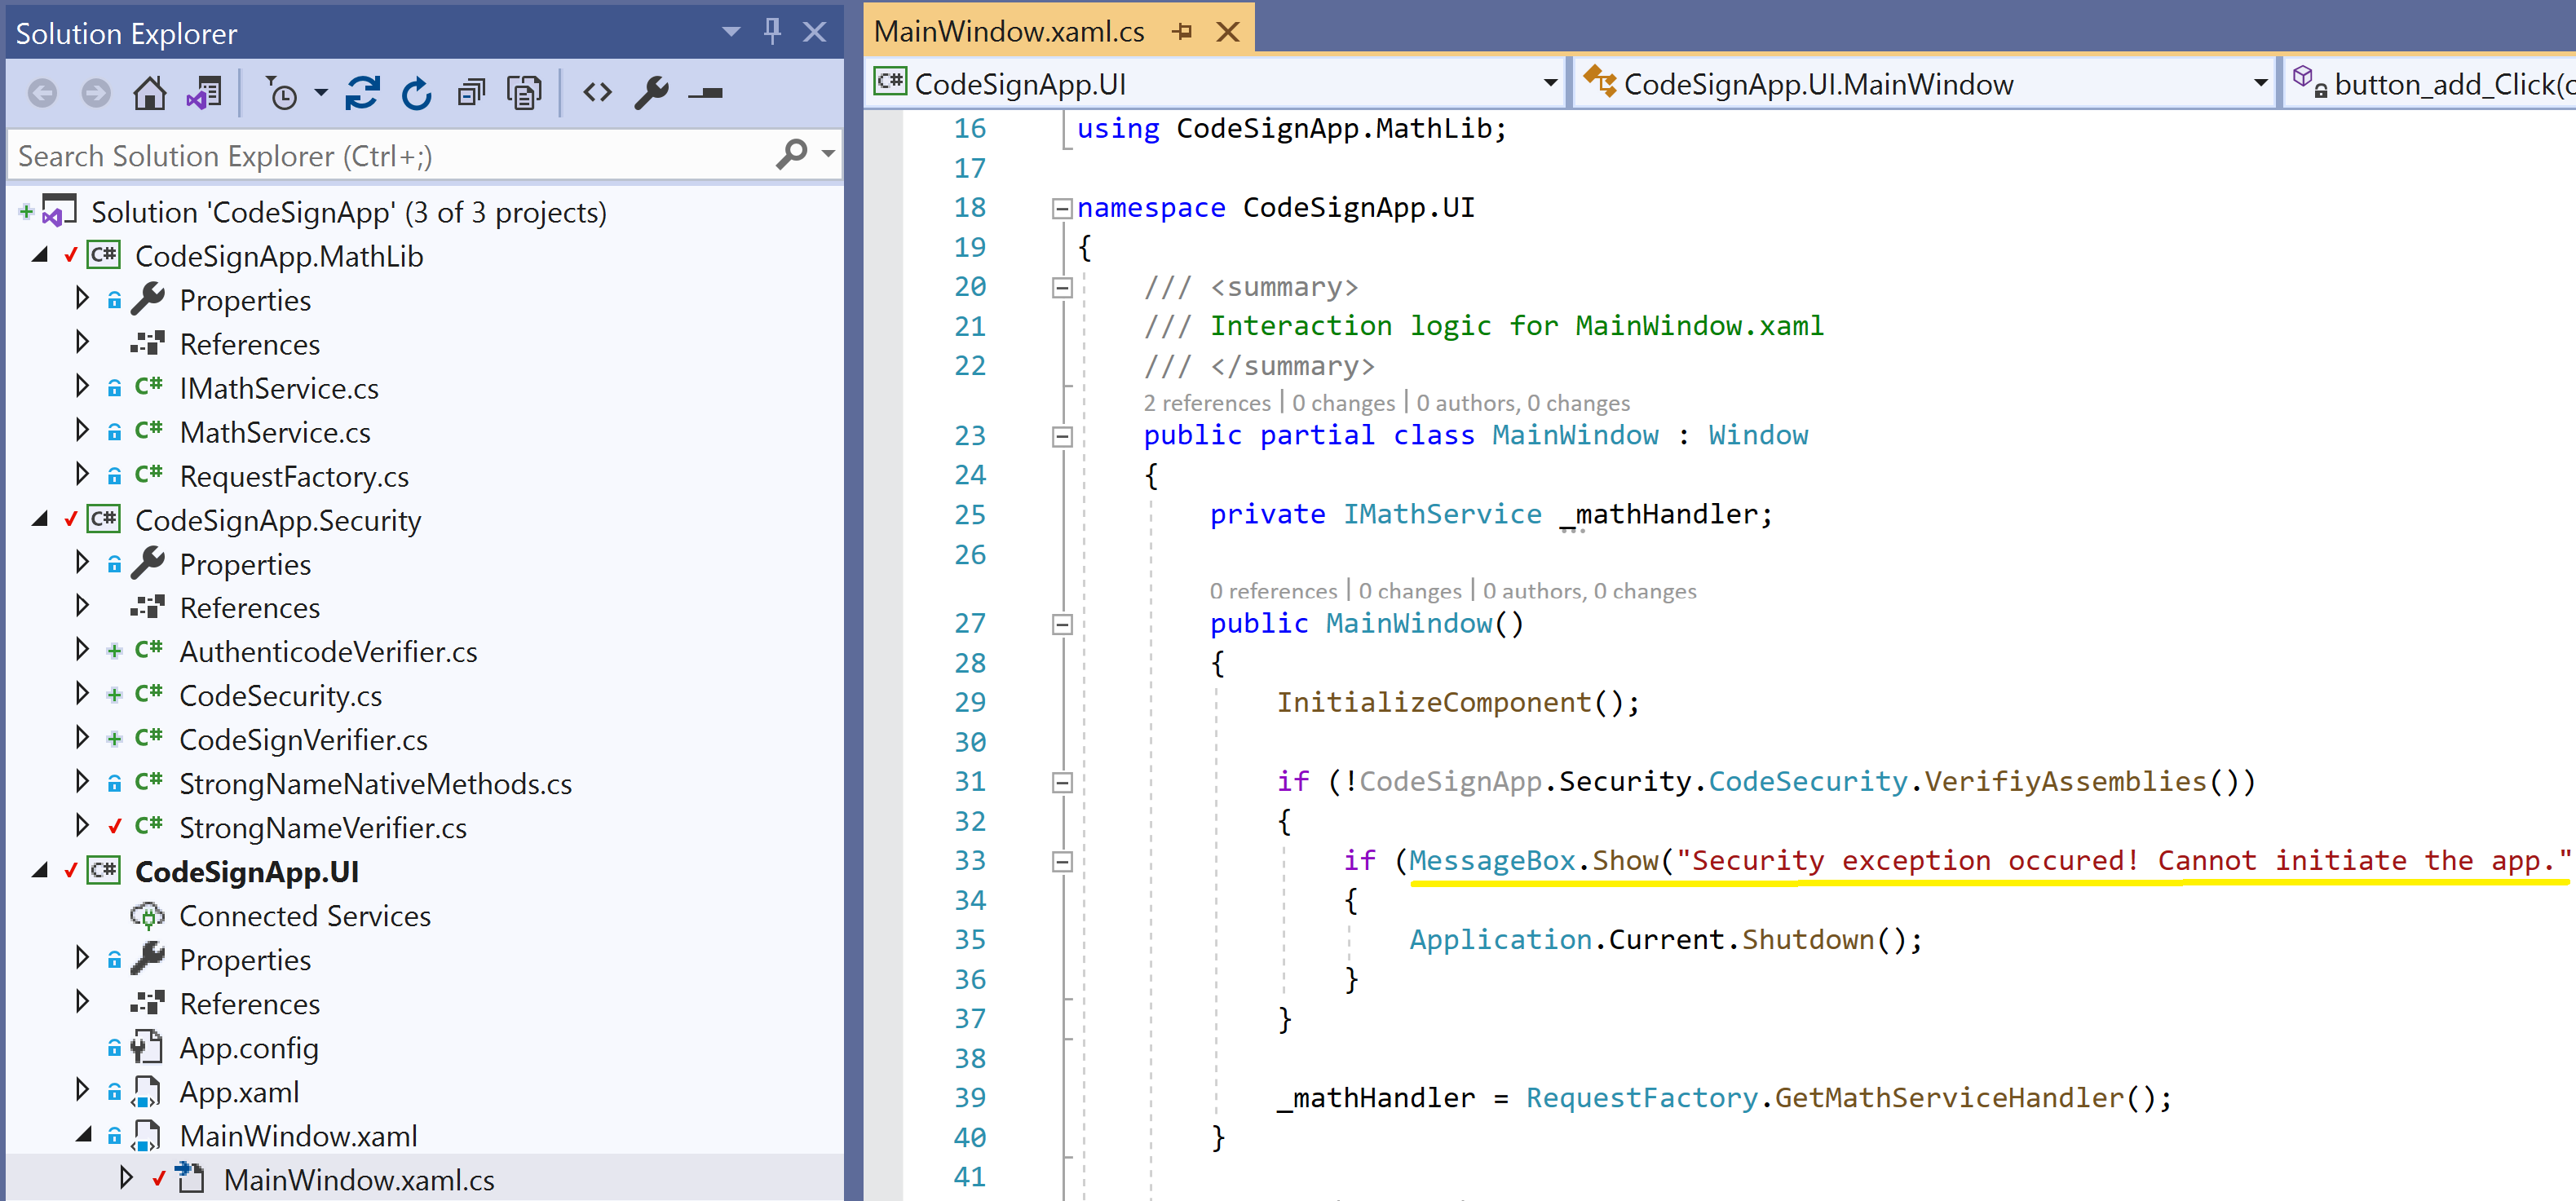
Signing validation at Entry App initialization.
Entry app calls the backend DLL only after the signings are valid.
-
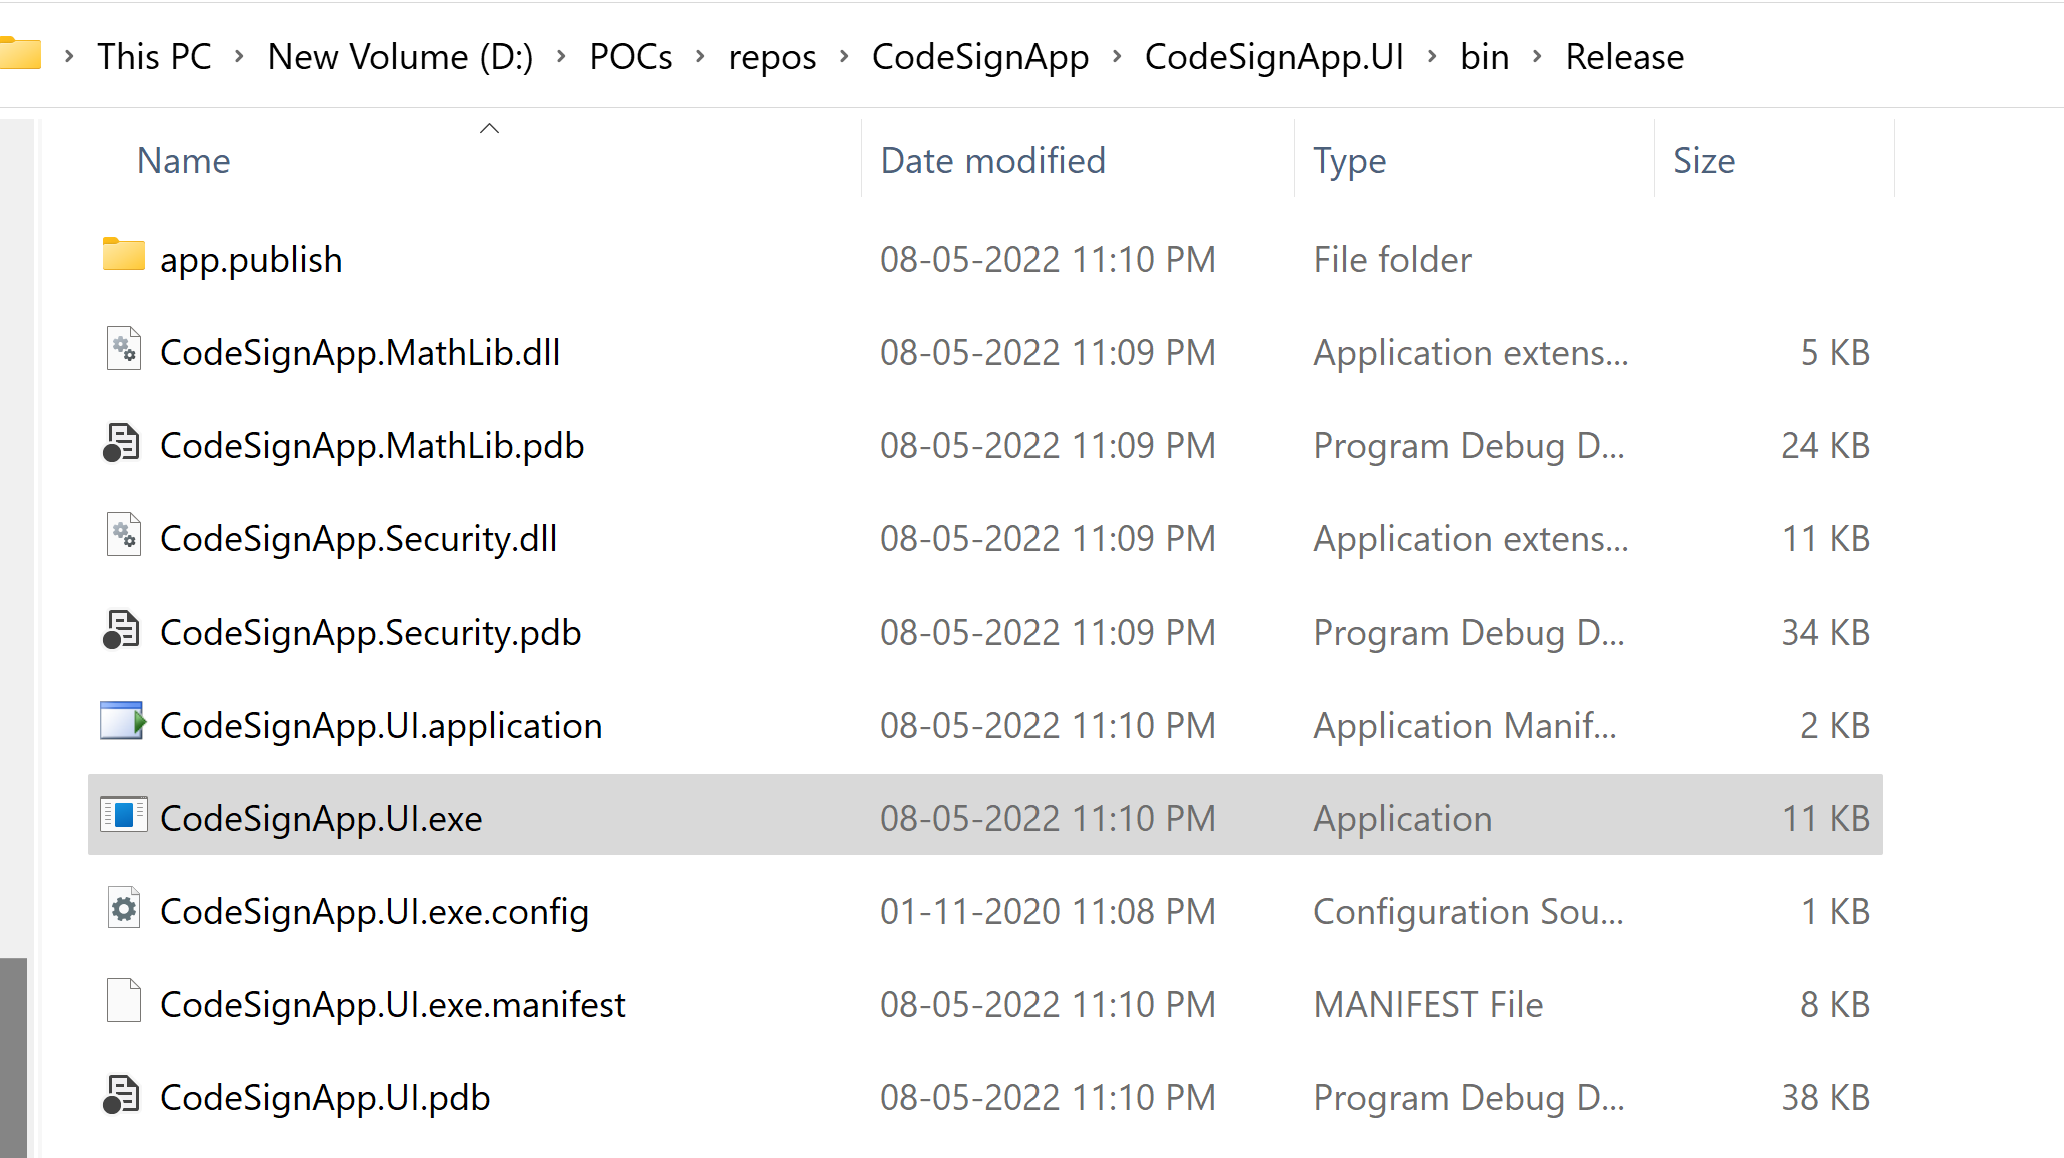
Build the application
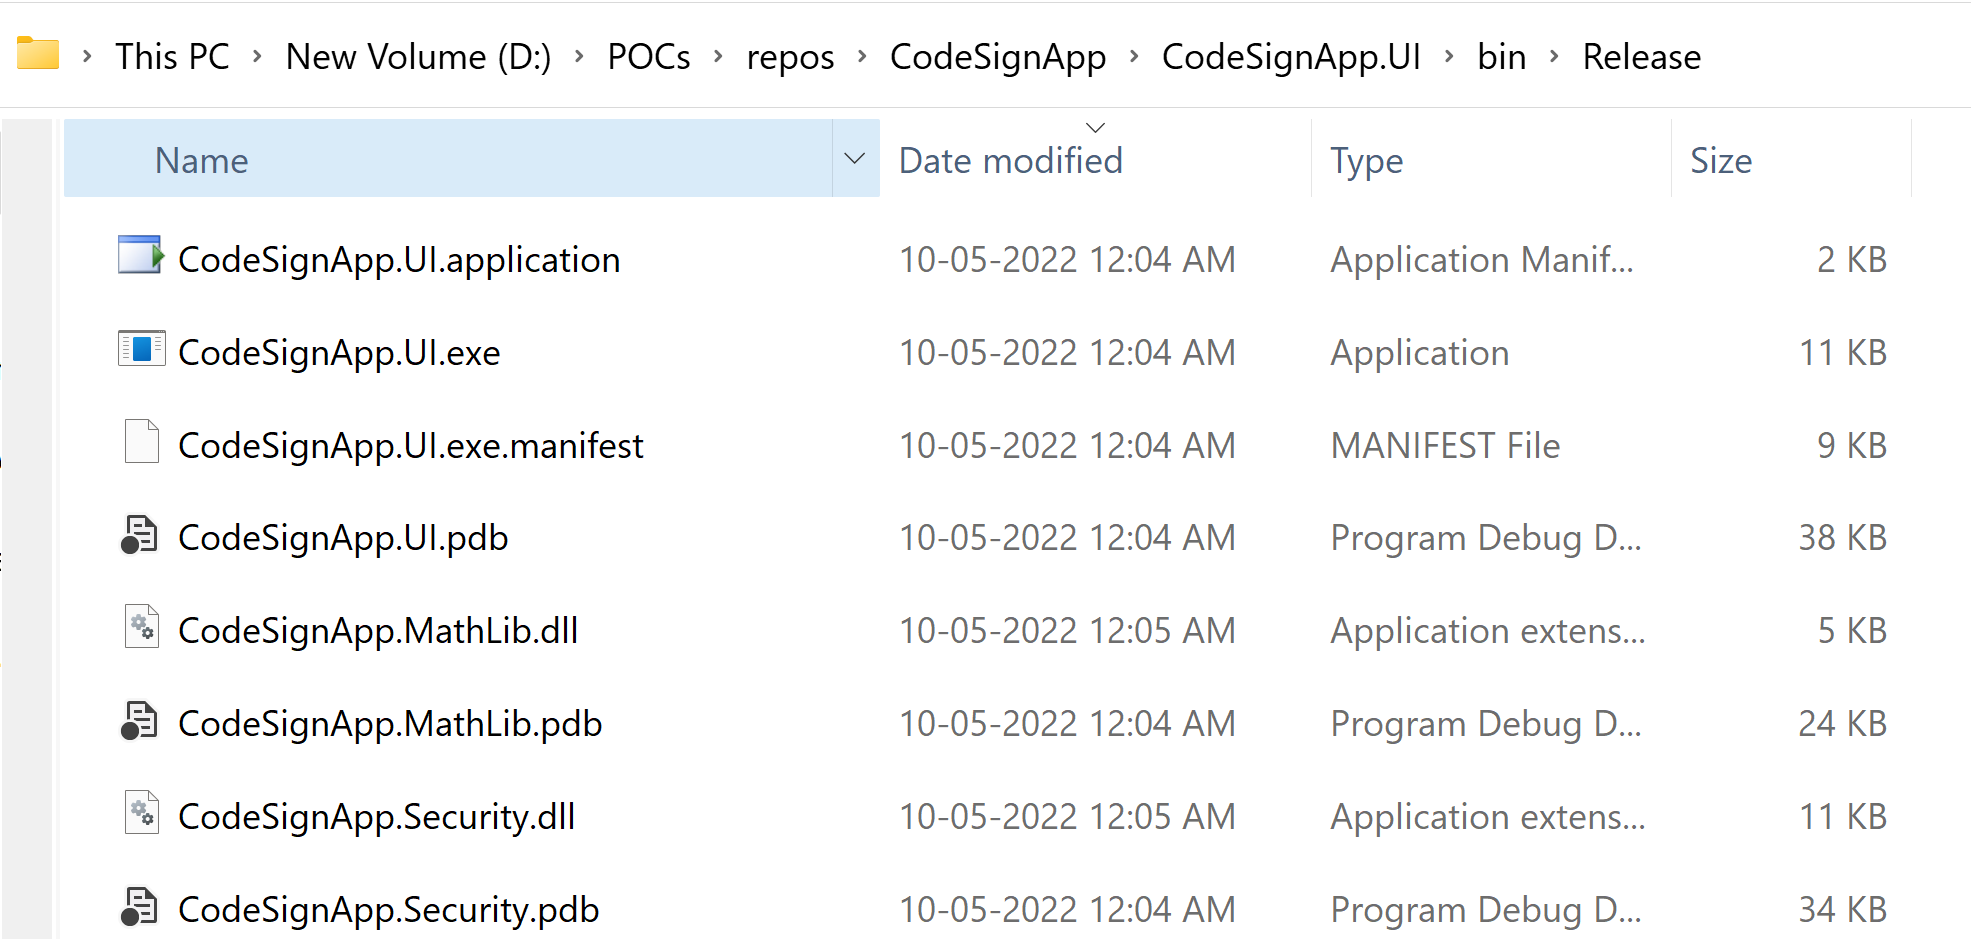
Build the application in Release mode. We can see the Exe an Dll files in the build output folder.
-
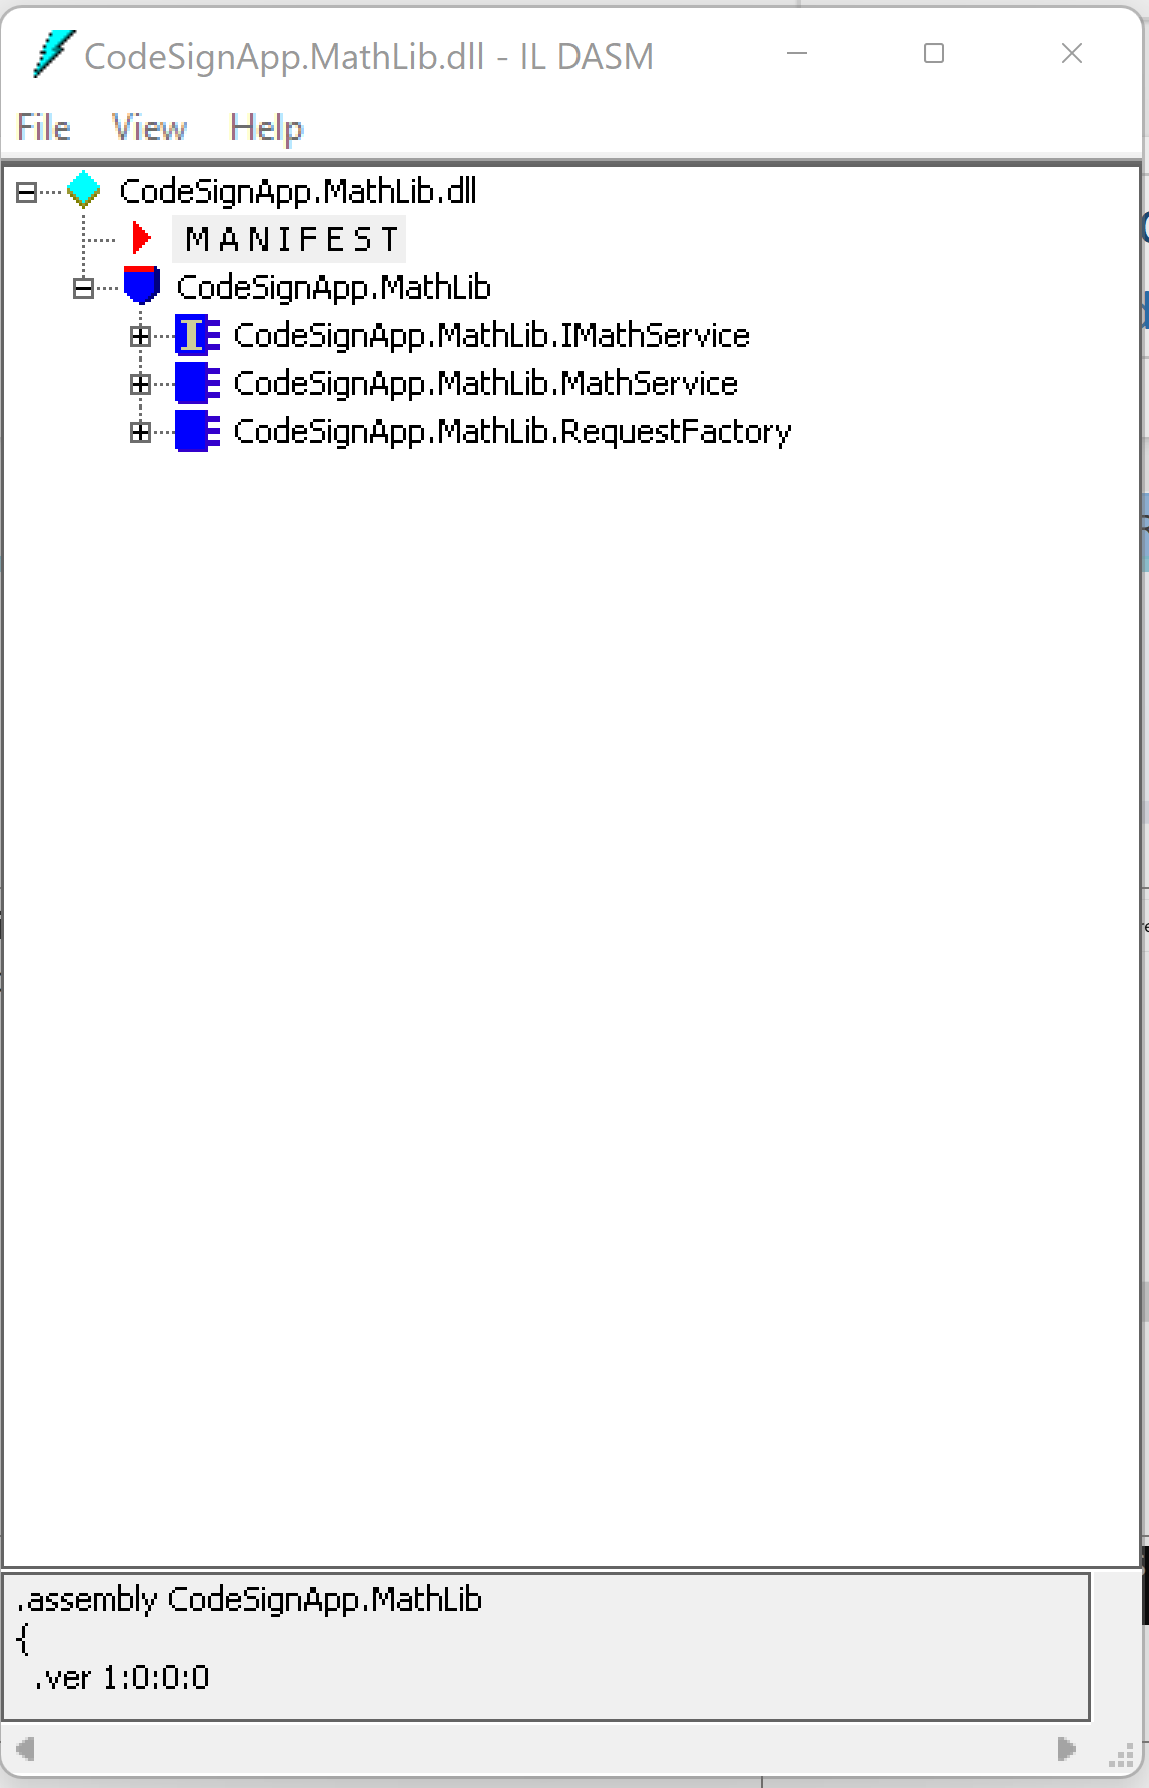
Use IL Disassembler
Use ildasm to see the Dll file contents.

-
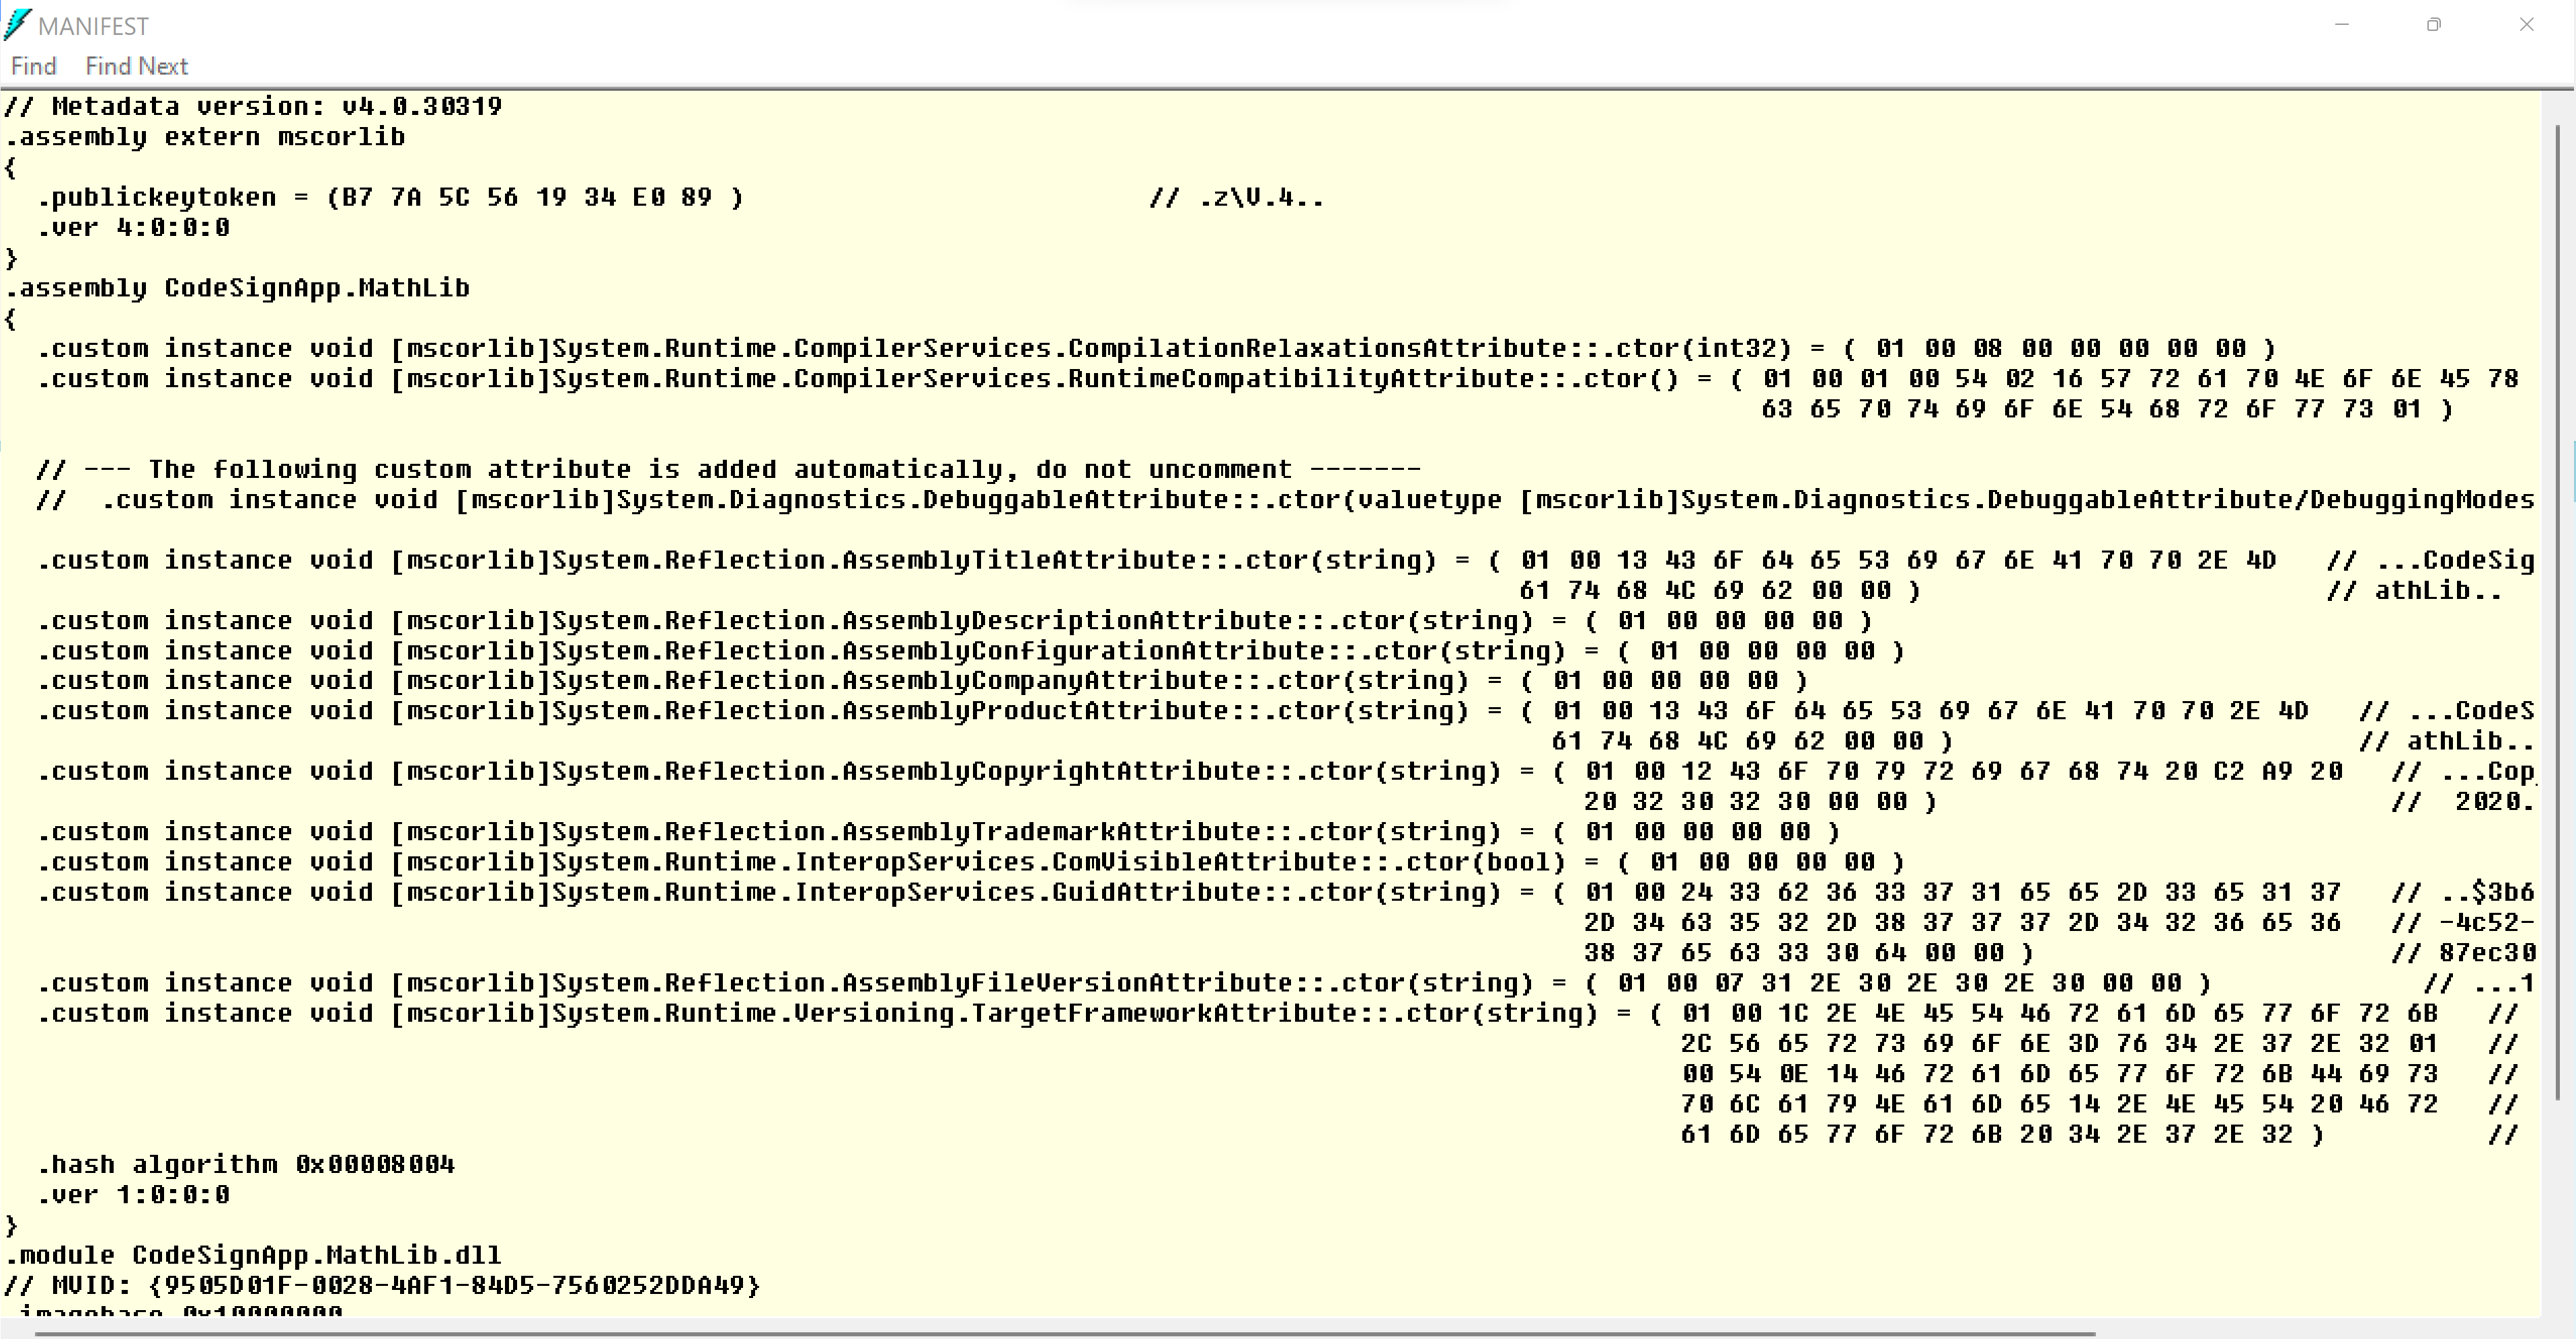
View the manifest data
Open the Manifest data from ILDASM UI. Now manifest does not contain any signing details.
-
Strong name key creation
Use SN command to create key pair for StrongName signing


-
Get public key from key pair for delay signing
Export the public key from Strong name key so that we can supply the public to Visual Studio for Delay Signing the executables.


-
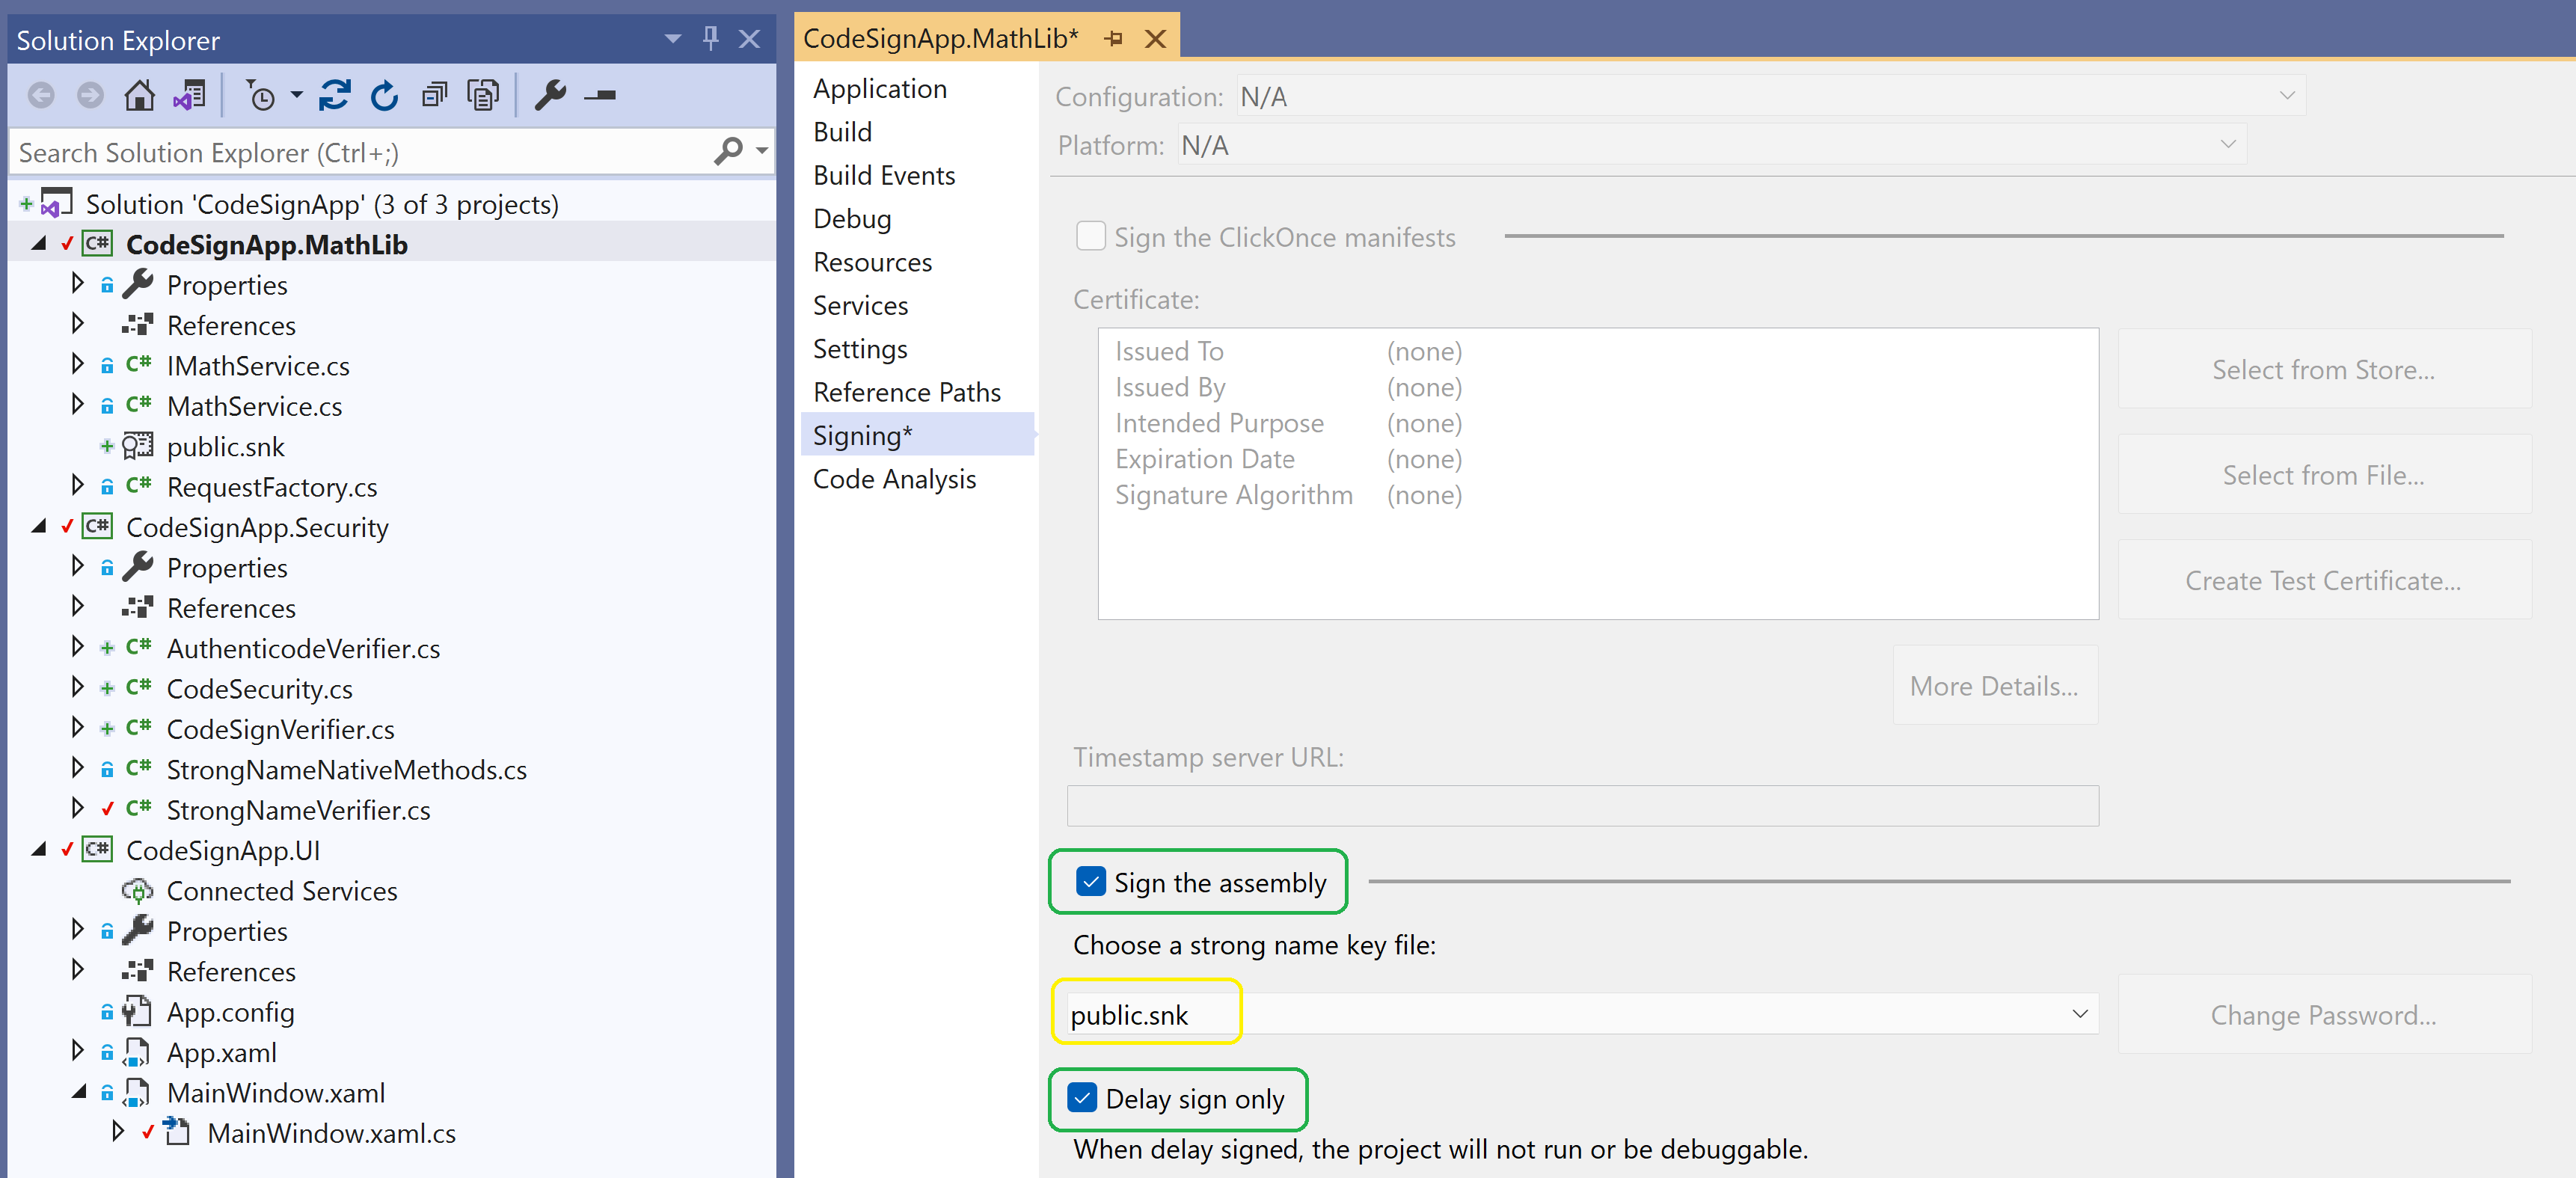
Set StrongName signing in Visual Studio
Enable delay signing for all 3 solutions and build the applications once again.
-
Run the application
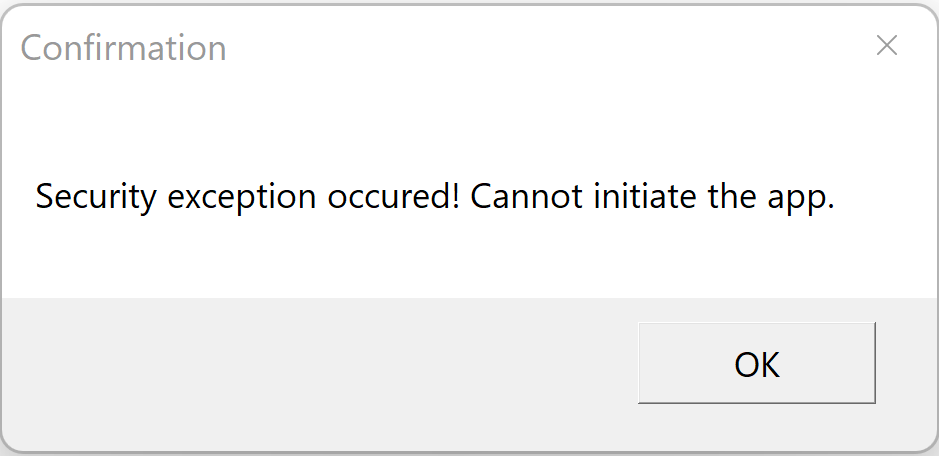
Run(Double-click) the Exe file. The application does not start as it fail in signature check.
Note: This error message shows StrongName and Authenticode signing are not present.
